Introduction
In today's digital-first world, having a well-designed, user-friendly website is essential for educational institutions to reach and engage their audience effectively. Whether it's a school, college, university, or online learning platform, a WordPress website is a powerful tool to showcase programs, facilitate communication, and provide resources for students and educators.
WordPress, a content management system (CMS), is an ideal choice for building an educational website due to its flexibility, scalability, and user-friendly interface. It offers thousands of themes and plugins tailored to the education sector, making it possible to create a highly functional and visually appealing site without extensive coding knowledge.
This guide will help you come up with the vital steps required to easily form an educational WordPress Website.
Building Education WordPress Website in 6 Easy Steps
Here are the steps to follow for building an Education Website with ease:
Step 1: Select a Hosting Plan and Domain Name
When building an Education WordPress Website, the two most vital elements are aligned. Those are the domain and the hosting provider. These two elements are the foundation of any website you build.
A domain is the unique address that a website holds and is utilized by the users to reach your website on the web. By entering the domain on the web, users can immediately reach your website. It starts with “www” and usually ends with “.com”, “.co”, and “.in”.
Choosing the right domain becomes a concern as it represents your website on the web. It should be short, memorable, professional, and unique. Also, choose a domain that easily reflects your website’s purpose and should include the right keywords as well.
This is where you need to choose the right domain provider for your website. Talking about the hosting service, this is like the home of your website. The hosting service provides a complete space for your website files and folders giving security and stability.
Hosting service for a website is also responsible for providing reliability, growth, scalability, and performance to your website.
So, you must go for the hosting that resonates with all the best features just as Bluehost, Dreamhost, and more. On the contrary, some of the best hosting services come with integrated domain services with a one-year guarantee. One of those hosting services is Bluehost which resonates with all the features and a free domain service.
So for the Education WordPress Website, we are heading with the Bluehost hosting service. Here we begin how you can get hosting service for your Education Website:
- Go to Bluehost's official website.
- Click on "Host Your Website" or "WordPress Hosting": Bluehost offers various plans like:
- Basic Plan, Plus Plan, Choice Plus, Pro Plan.
- For an educational website, the Plus or Choice Plus plan is ideal if you expect medium to high traffic.
- Click "Select" on your preferred plan.
- The next step is to get a domain for your education website. Input your website’s domain name in the search box.
- Bluehost will check if the domain is available and If available, proceed to register it.
- If you already have a domain, select the "Use a domain you own" option and follow the steps to link it.
- The next step involves entering the account details to complete the purchase of the hosting. And finally get the payment done through credit, debit, or any online payment method.
- You will receive a confirmation email once the payment is done.
- Log in to your Bluehost account using the credentials in the email.
Step 2: Install WordPress
- The next step we have is to install WordPress. And for this, Bluehost offers a 1-click WordPress installation tool.
- Click "Install" to start the process. Bluehost will automatically set up WordPress for you.
- Once the installation is complete, you’ll see a success message with your WordPress admin login URL.
- Go to your WordPress admin dashboard.
- Log in using the credentials (username and password) provided during the setup or sent to your email.
Step 3: Purchase a Theme
Once you have got the WordPress installed for your Education WordPress Website It's time to move forward with purchasing a good theme for your website.
This is where the actual hunt begins, as you need to pick a theme that is actually worth investing in. The theme chosen for your website actually turns out to be the most crucial decision, as it decides the overall design and functionality of your website.
And, no doubt, there are so many themes from different platforms for almost every venture you need. But what’s best is to be chosen.
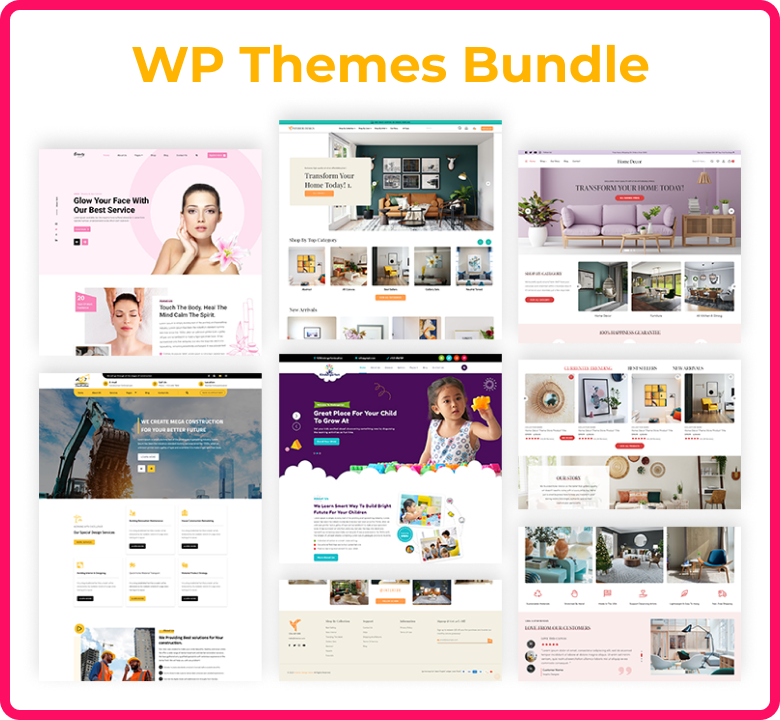
So here we recommend selecting themes from Theme Ignite. They have a superb collection of premium WordPress themes for online courses and educational purposes. Here are some of the best recommendations to look at:
a) Prime Classes WordPress Theme

The Prime Classes WordPress Theme by Theme Ignite is a premium solution designed for educational institutions aiming to establish a professional online presence. This theme is tailored to effectively showcase courses and campus features, making it suitable for schools, colleges, universities, and training centers.
b) Education WordPress Theme

A comprehensive and adaptable template crafted to cater to the multifaceted needs of Education WordPress Website. It supports diverse learning modalities, including online, distance, blended, and self-paced learning, and offers features for academic support and enrichment.
c) Kindergarten WordPress Theme

Designed specifically for kindergartens, preschools, childcare centers, and early childhood education institutions, this theme provides a visually appealing and user-friendly platform to showcase educational programs and share essential information with parents.
- So, these are the highly recommended themes you can go with to design the Education WordPress Website. Now comes the purchasing of the theme:
- We are going to purchase the Education WordPress Theme. To do so, you need to first visit the Education WordPress Theme page and tap the Buy Now button.
- Once the theme is added to your cart, click on the "Cart" or "Checkout" option.
- Review your order to ensure everything is correct.
- If you're a new customer, you'll need to create an account by providing your name, Email address, and Password.
- In case of an existing account, you can simply login with the credentials.
- Choose a payment method (e.g., Credit/Debit Card, PayPal).
- Enter your payment details and complete the transaction.
- Once the payment is successful, you’ll receive a confirmation email with the purchase details.
- After purchasing, log in to your ThemeIgnite account.
- Navigate to the "Downloads" or "My Account" section.
- Locate your purchased theme and click "Download" to save the theme file (usually in a zip format) to your computer.
- Log in to your WordPress dashboard.
- Go to Appearance > Themes and click "Add New".
- Click "Upload Theme", then select the zip file you downloaded from ThemeIgnite.
- Click "Install Now" and then "Activate".
Step 4: Customize your Website
Now is the step when you need to customize your Education WordPress Website to make it look yours.
- Reach the Customize option under the Appearance tab in the WordPress dashboard.
- The WordPress Customizer will load, allowing you to make real-time changes to your website.
- You can further customize the site identity, colours, typography, header, navigation, footer, and more such elements.
- Also, installing essential plugins like LMS, contact forms, event management, security plugins, and more.
- You can even add and customize pages like courses, about us, the admission process, and more.
Step 5: Configure LMS Plugin
Configuring an LMS (Learning Management System) plugin for your education WordPress Website allows you to create, manage, and deliver online courses.
- Log in to your WordPress dashboard.
- Navigate to Plugins > Add New.
- Search for the LMS plugin (e.g., "LearnDash").
- Click Install Now and then Activate.
- Go to the LMS plugin's settings panel. Set your platform's name.
- Choose a theme or layout for courses.
- If selling courses, configure payment methods like PayPal, Stripe, or WooCommerce.
- Go to the plugin’s Courses section.
- Click Add New Course or Create Course.
- Add details: Title and Description, Modules/Sections, and Media Content.
- Save or publish the course.
- Similarly, you can add quizzes and assignments for your education WordPress website.
- You need to then configure student registration.
- Enable registration and enrollment:
- Some plugins provide built-in registration forms.
- Use plugins like WPForms or MemberPress for advanced registration options.
- Set up user roles: Students for course access and instructors for content creation and course management.
You can even customize the appearance of the LMS by using the WordPress Customizer or a page builder (like Elementor) to style course pages.
Many LMS plugins integrate with your WordPress theme for seamless design.
Step 6: Test Your Website
- Preview Responsiveness: Use the Customizer to check how the site looks on desktop, tablet, and mobile.
- Check Navigation: Ensure all menus and links are working.
- Speed Test: Use tools like Google PageSpeed Insights to optimize loading times.
Step 7: Launch Your Website
Once you're satisfied with the customization, click Publish in the Customizer to make your changes live.
Conclusion
Building an education-focused WordPress website involves several key steps, each requiring time, effort, and planning to ensure success. An education WordPress website is a valuable tool for connecting with students, showcasing programs, and facilitating learning. With the right planning, tools, and execution, it can serve as a dynamic and engaging platform. Continuous updates and improvements post-launch will ensure its long-term success. So, we have come up with the above blog containing every single step that is required to build up an education WordPress website.